- Let’s begin! Connect the battery provided in the kit to Quarky.
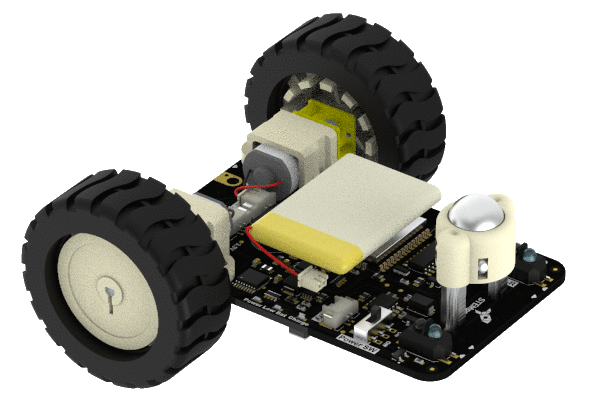
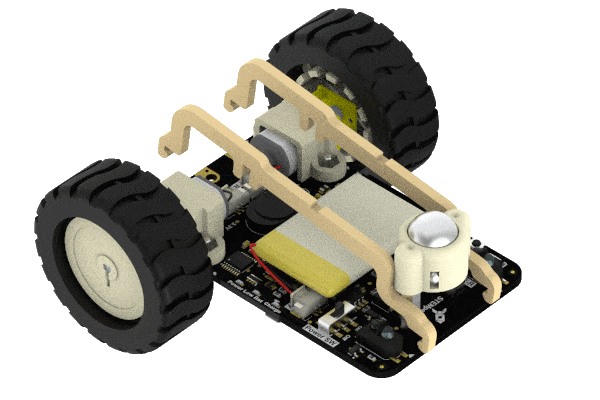
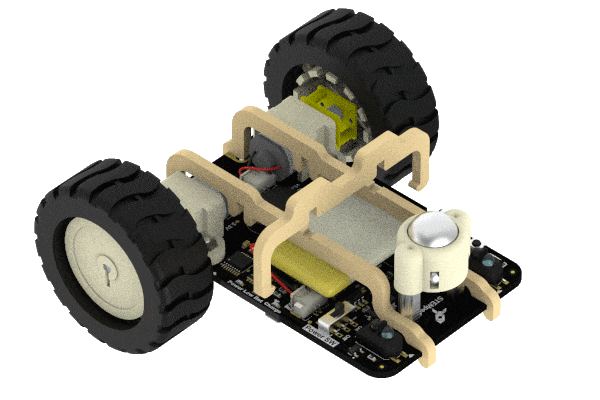
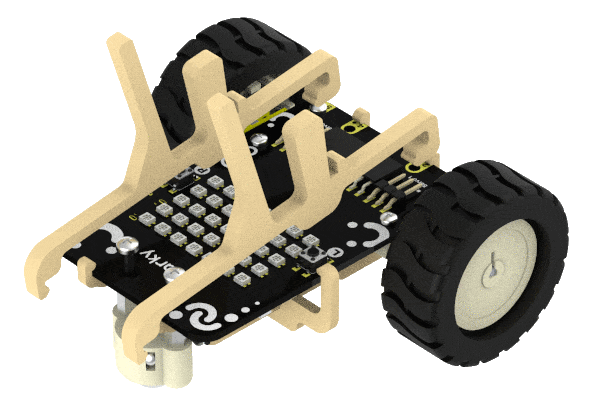
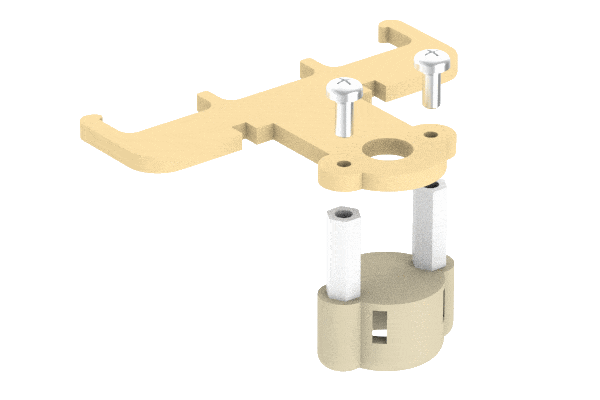
- Assemble the wooden mounting parts.
- Snap the battery holder on the bottom of the robot as shown in the image.
- Snap the battery holder lock on top of the battery holder matching the lock as shown in the image. Your battery is now secured.
- Power up Quarky by sliding the power switch inside.
- Snap the battery holder on the bottom of the robot as shown in the image.
- Follow the instructions and play Catch the Fruits game using left and right buttons.
- Now let’s play music using the touch sensors! Wave hand near the rear IR sensors to make your Quarky happy!

- Go to https://bit.ly/PictoBlox and download PictoBlox, your graphical coding companion for the journey.

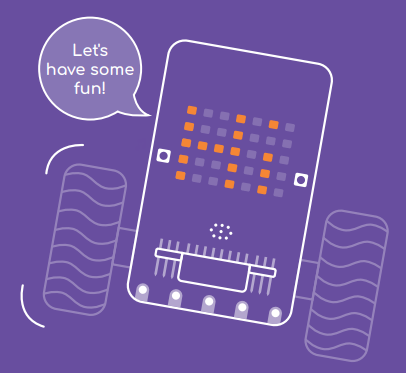
- Learn to program your robot, control it wirelessly, and have endless fun!
- Click here to access online AI course, and redeem the enrolment key to kickstart your AI journey!


Note: Course redeem key can be found on the inner lid of the box.
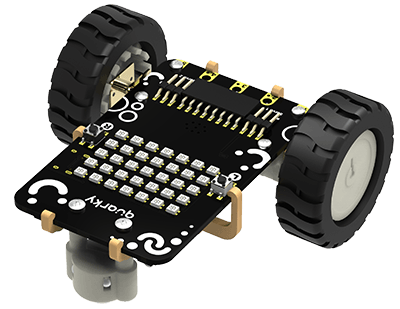
Assembly 1 – Making the Quarky Robot
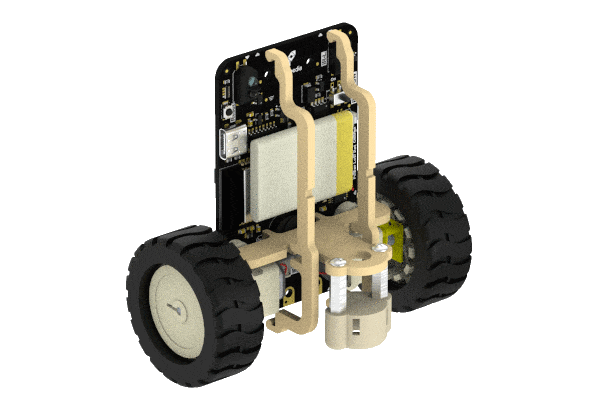
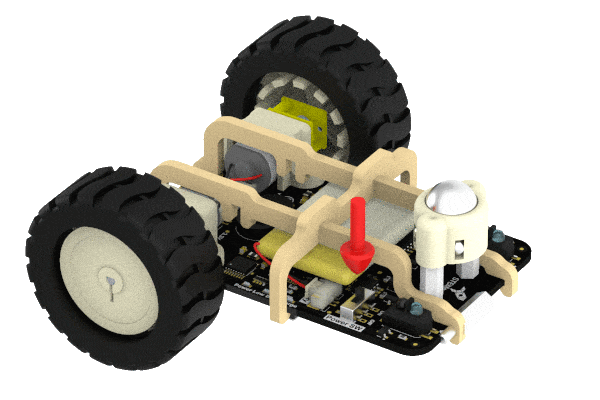
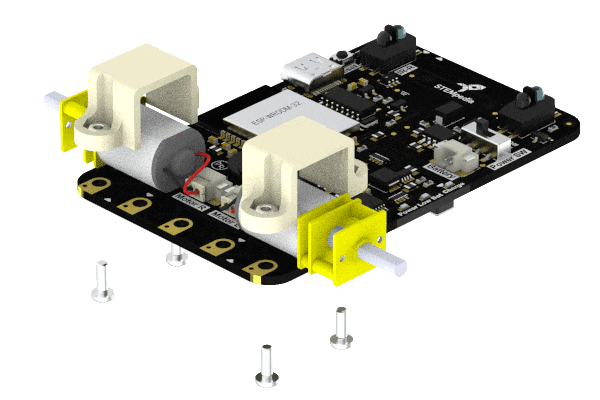
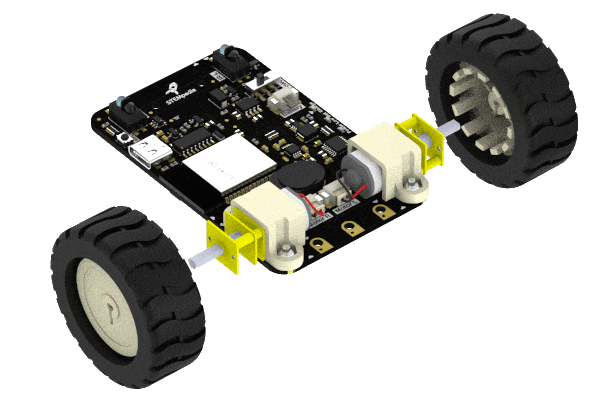
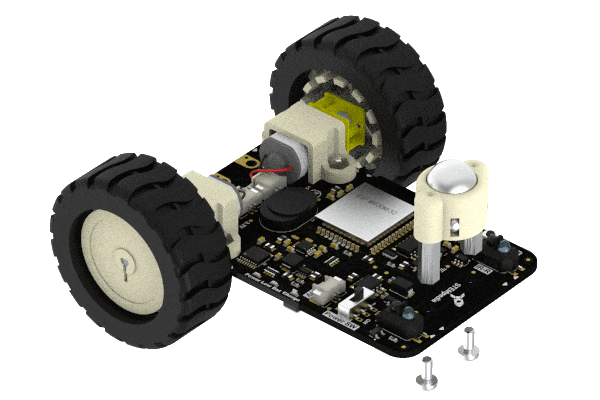
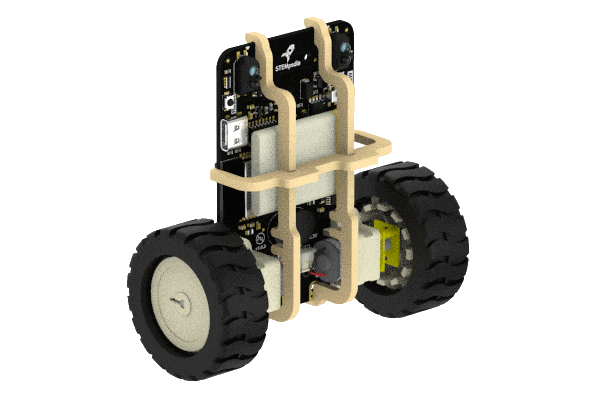
- Mount the motor:
- Mount the motor to the Quarky board on the back side using M2 bolts and motor bracket as shown in the image:
 Note: Tighten the bolts using the screw driver provided in the kit.
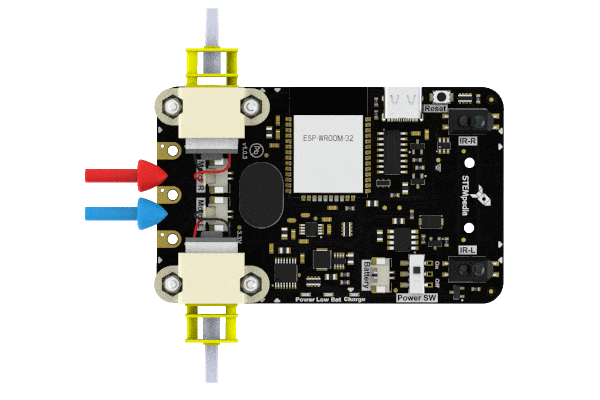
 - Attach the motor connectors on Quarky’s backside. Make sure you attach the motors to the corresponding pins: Red is Left and Blue is Right.
- Attach the wheels to the motor as shown in the image:
- Mount the motor to the Quarky board on the back side using M2 bolts and motor bracket as shown in the image:
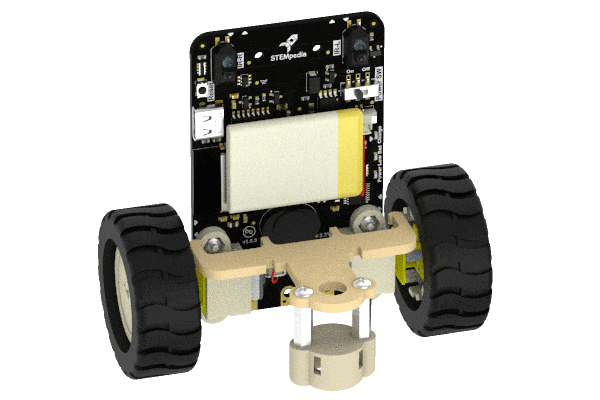
- Attach the castor wheel using two spacers and the bolt.
- Insert the Battery and place it at the back side. Keep the red wire towards the right side.
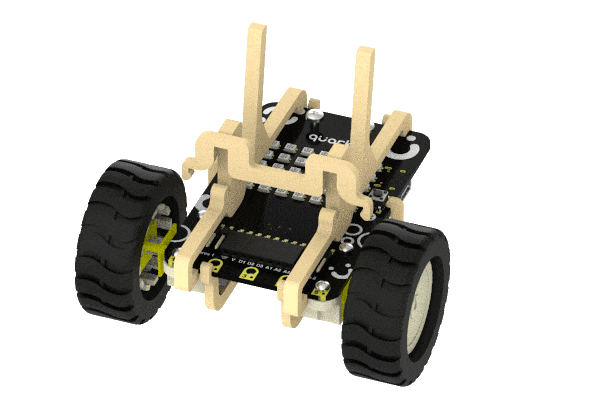
- Assemble the wooden mounting parts.
- Snap the battery holder on the bottom of the robot as shown in the image.
- Snap the battery holder lock on top of the battery holder matching the lock as shown in the image. Your battery is now secured.
- Snap the battery holder on the bottom of the robot as shown in the image.
Assembly 2 – Mounting the Smartphone Holders on Robot
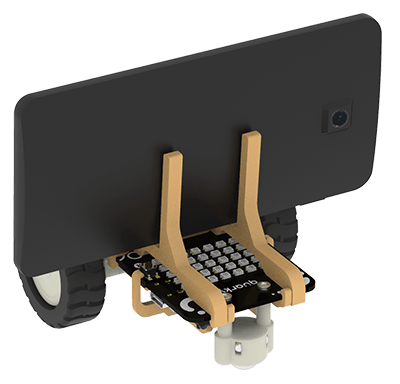
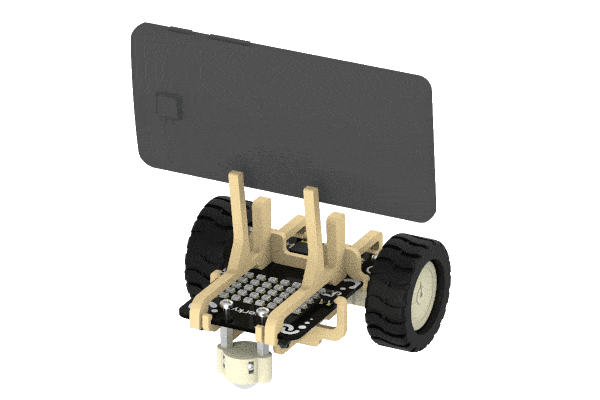
- To mount the Smartphone holders, firstly fix them on Quarky’s front edge. Once the Smartphone holder is fixed in the front, then press on the rear side.
- Mount the Smartphone holder lock horizontally across the holder.
- Place your Smartphone on the holders horizontally or vertically (use rubber bands to secure it).
Assembly 3 – Vertical Configuration of Robot
- Remove the castor wheel from the robot and attach it to the castor plate.
- Remove the battery holder lock and then the battery holders. Gently unsnap them from the edges.
- Mount the castor plate on the back side of the board. Adjust the wires of the speaker accordingly.
- Connect the battery and then mount the battery holders and the battery holder lock to secure the battery.